

Plan reflective piping in waterproof seams by reviewing the shell, trim, joining detail and sealing system as one identified assembly. Define the required evidence, develop representative samples and record the accepted process before bulk production. This guide provides a review workflow; it does not supply universal machine settings or certify a finished garment.
Understanding Reflective Piping in Waterproof Construction
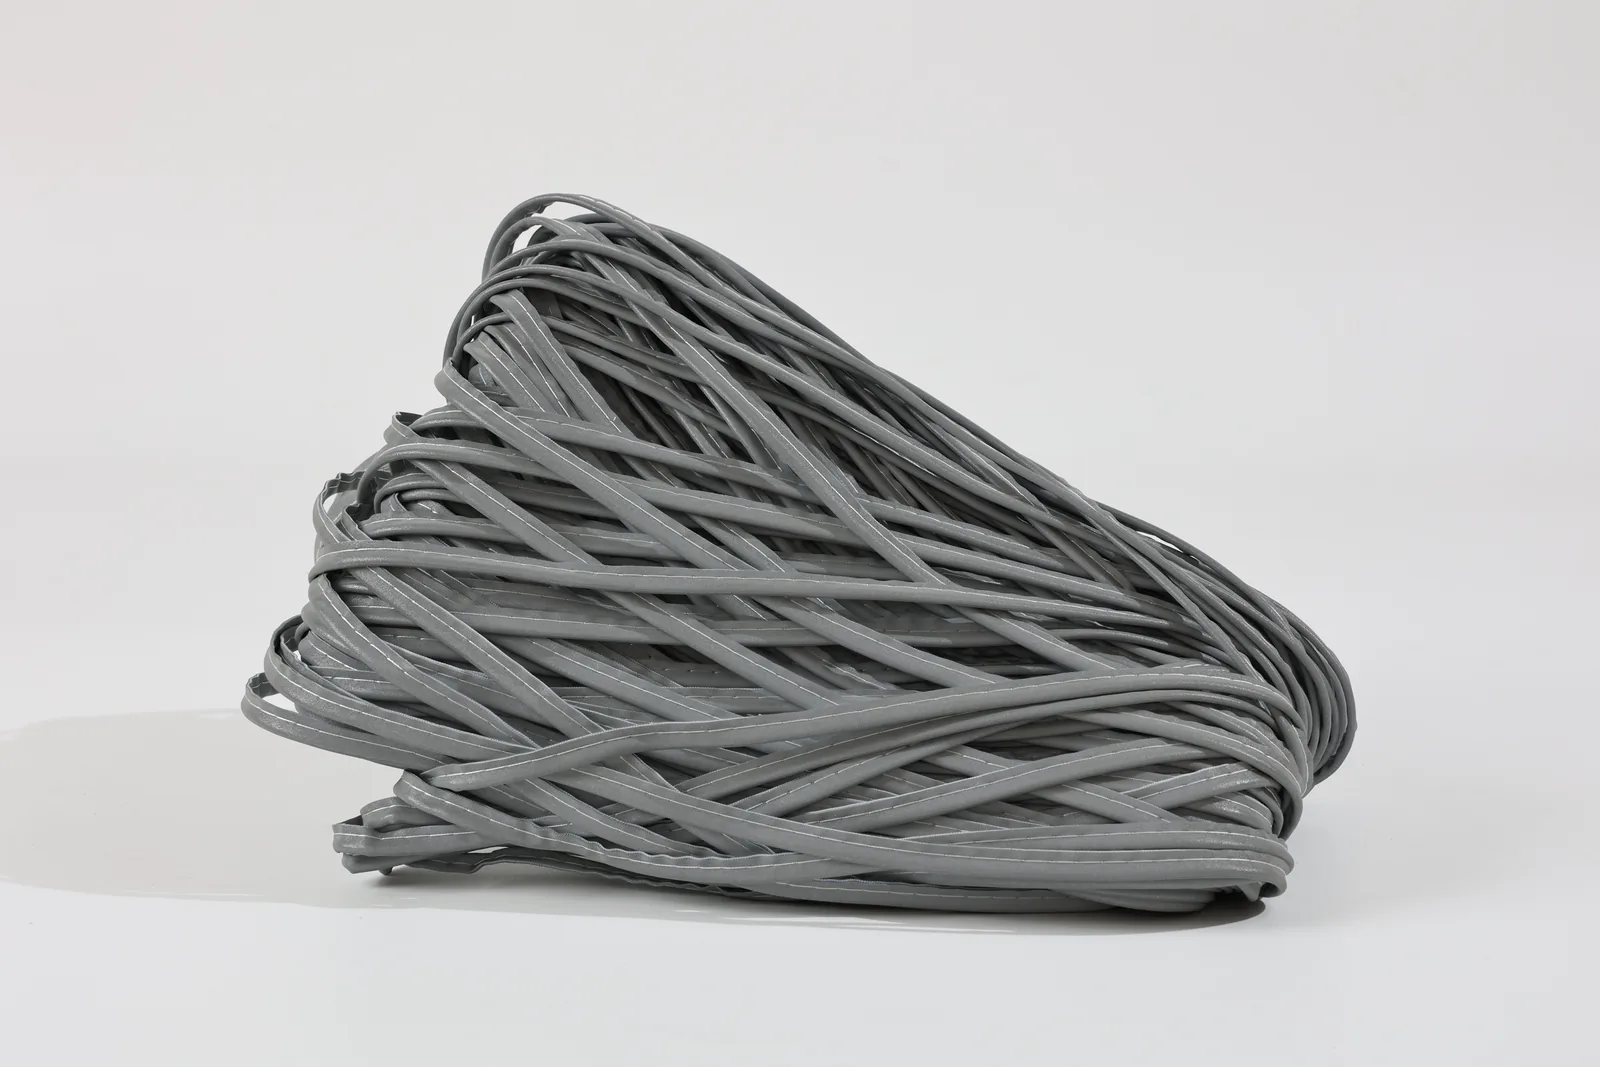
Treat reflective piping in waterproof seams as an assembly-development question. Identify the shell fabric, piping construction, stitch path and proposed sealing system together. A reflective material specification does not establish the water resistance of the finished seam, and an acceptable waterproof shell does not establish that every added seam detail will meet the same requirement.
Start with a cross-section or drawing of the proposed assembly. Show the piping flange, any cord, the fabric layers and the surfaces available for sealing. Distinguish the visible reflective edge from the area captured by the stitch and the area intended to receive tape or another specified treatment. Record which surface finishes and layers the supplier's compatibility guidance covers.
Use the drawing to identify questions for a trial, including changes in thickness, restricted access and termination details. These features are reasons to examine the assembly, not proof that a seam must leak. Record observations against the agreed requirements instead of presenting a universal failure mechanism for every piping construction.
Welded Seams vs. Stitched Seams: How Each Method Handles Waterproof Reflective Piping
Discuss joining options with the garment and material specialists responsible for the design. Sewing, bonding or welding may be considered where the materials, equipment and product requirements support the proposed method. Do not assume that a process suitable for one shell or trim is suitable for another.
For a stitched proposal, document the stitch path and any penetrations that the sealing design must address. For a bonded or welded proposal, obtain guidance covering the actual materials, surfaces, equipment and joint geometry. The absence of sewing holes does not by itself establish joint strength, water resistance or durability.
Compare representative assemblies using the agreed acceptance criteria. Keep the sample construction and process record with each result so that an observed difference is traceable. Do not assign a universal strength percentage to welding or claim that stitching is always more durable. Select a method on the evidence for the intended product and confirm which changes would require reassessment.
Separate Reflective Function From Waterproof Performance
Define what the piping is intended to do in this garment. It may provide an appearance detail, a reflective feature or a specified component within a larger design. Confirm the requirement rather than declaring every piping application safety-critical or load-bearing.
Review visibility and water resistance separately. The piping's appearance does not establish a garment visibility class, and the shell's performance does not establish the sealed seam's result. Where a finished-product standard or customer specification applies, have the responsible specialist define the relevant evidence and assessment scope.
Keep those requirements in the development record. Identify which results concern the reflective material, which concern a seam sample and which concern the finished garment. This prevents a component report from being used to support a broader claim that it did not evaluate.
Step 1: Selecting Compatible Materials and Tools for Reflective Piping in Waterproof Seams
Collect product-specific guidance for the shell, piping and proposed sealing material. Ask which surfaces and finishes are covered, what preparation is required and which equipment or process limitations apply. Record any unconfirmed combination before requesting a production release.
According to MAX’s product pages, MP0108 is Reflective Piping Tape with Green Printed Stripes in Silver and Green, while MP0110 is Segmented Reflective Piping Tape with Black Printed Stripes in Silver and Black. The MP0108 and MP0110 product pages each list dimensions of 1.3 cm × 2.0 cm × 0.2 cm; Planar dimensions: 1 cm. For the reflective-piping category, MAX’s website also lists custom colors and Logo/pattern printing.
These website descriptions are starting points for an inquiry. Request a drawing clarifying the supplied dimensions and separate evidence for compatibility with the intended waterproof seam. Do not interpret a listed dimension as visible width or cord diameter without confirmation, or treat a printed pattern as evidence of sealing performance.
| Selection question | Evidence to request |
|---|---|
| Which construction is offered? | Identified model, drawing and material description |
| Which surfaces will be joined? | Shell finish and piping flange identification |
| Which sealing system is proposed? | Applicable supplier guidance and trial record |
| Which conditions must be met? | Agreed assembly and finished-product acceptance criteria |
Special Considerations: Sewing Reflective Piping on Waterproof and Stretch Fabrics
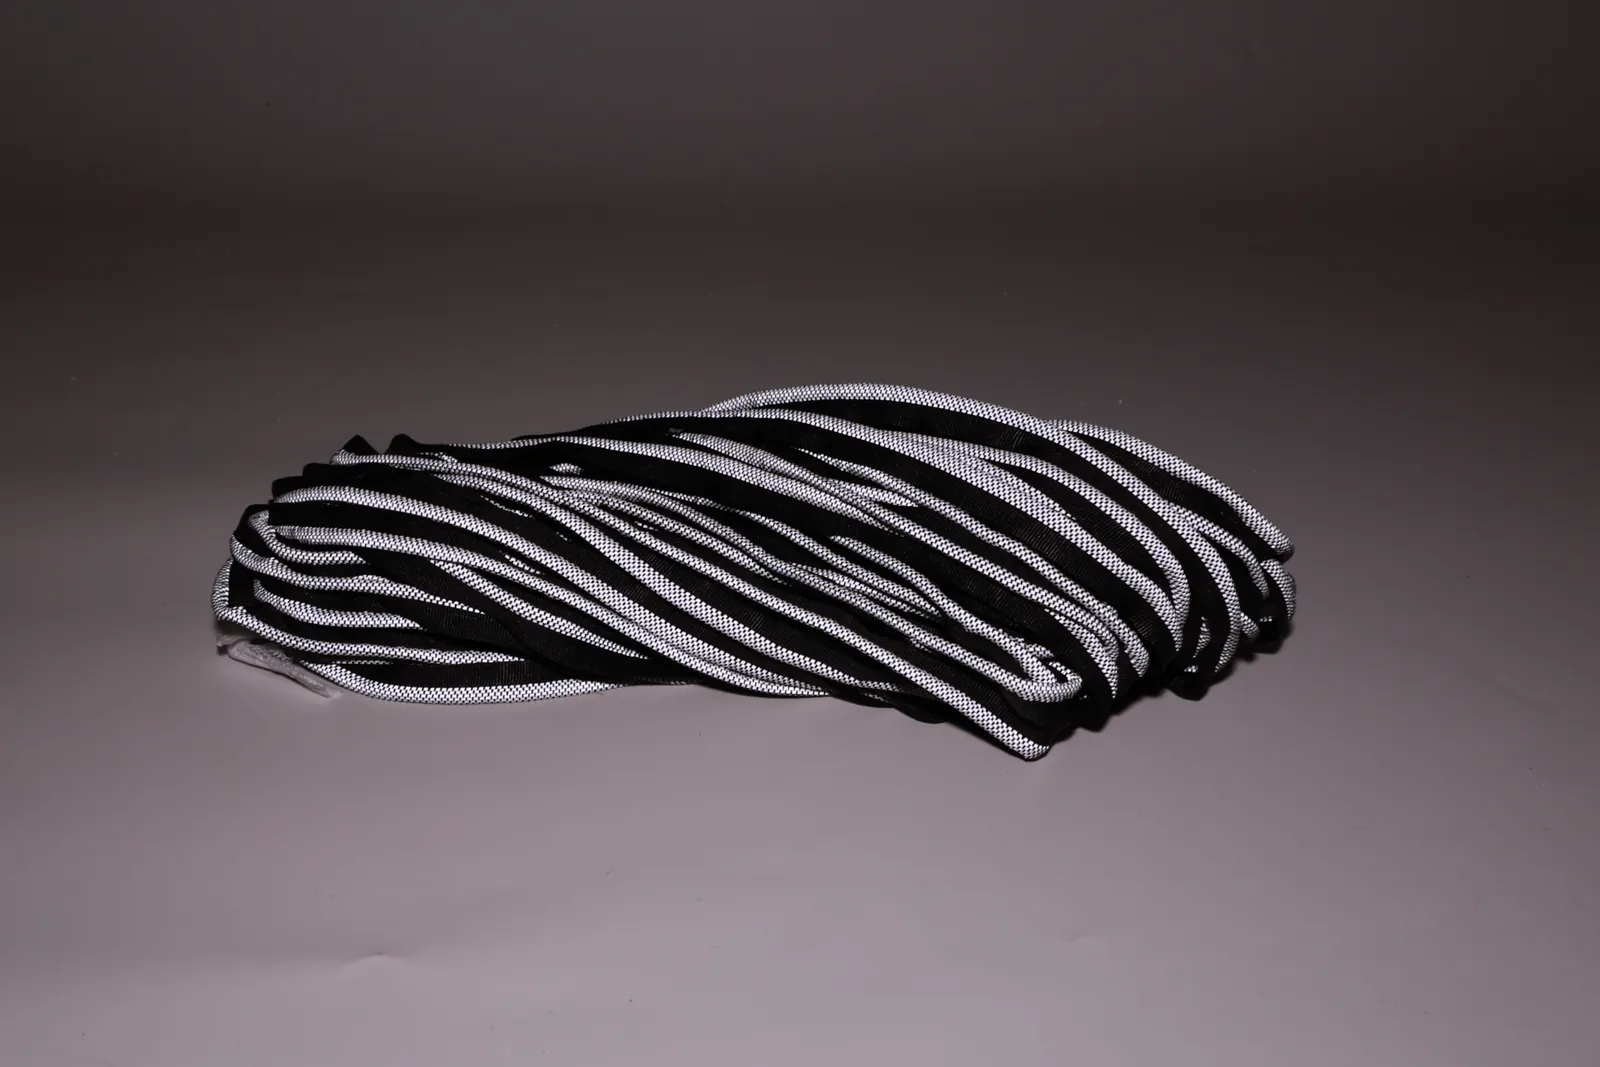
Include the actual shell and piping in the sample plan. For a waterproof application, identify every stitch line and the intended treatment of penetrations, edges and junctions. Confirm that the proposed assembly can be accessed and processed using the chosen equipment.
If the design includes stretch or substantial movement, ask the product team to define an appropriate assessment of the complete assembly. Observe the piping profile, stitch condition, sealing material and surrounding fabric after that assessment. Do not assume a flexible-feeling strip will recover with the shell or that a rigid-feeling sample necessarily fails the requirement.
Keep the questions distinct: feeding behavior during sewing, movement of the assembled seam and performance after the specified evaluation. Record which requirement each observation addresses. When a sample is changed, determine which checks must be repeated rather than carrying the earlier conclusion across a different material combination.
Step 2: Planning and Executing the Stitching Process
Draw the proposed stitch path before preparing trial seams. Show starts, stops, overlaps, curves and intersections, including the places where the piping changes direction or meets another component. Confirm the intended visible reveal and the area available for the sealing operation.
Establish the needle, thread, stitch formation and tooling with the production team using equipment-compatible guidance and a representative material stack. Record the selected setup and the reason it was accepted. This guide does not prescribe a universal needle size, stitch density or thread-tension setting.
Inspect the trial for skipped stitches, marking, distortion and capture of the intended flange. Check both straight sections and the most difficult geometry in the design. If an adjustment is needed, change the setup in a controlled way and record what changed before comparing the result.
Plan how seams begin and end with the responsible production specialist. Do not replace a required securing method with knotting or omit reinforcement solely to reduce hole count. Assess the proposed construction against both structural and water-resistance requirements, then record the approved method for the actual style.
Step 3: Step-by-Step Seam Construction with Reflective Piping
Prepare identified samples using the agreed pattern and material revisions. Verify the piping orientation, seam allowance and placement before sewing. Use a marking and temporary-holding method that the responsible material and production guidance permits for the selected assembly.
Sew the sample using the documented trial setup. Keep material identification and process notes with the result, including any interruptions or adjustments. Observe whether the intended flange is captured and whether the visible profile follows the drawing. Do not regard a neat exterior as proof that the seam is ready for release.
Inspect the reverse side and the area intended for sealing. Record wrinkles, contamination, damage or geometry that needs review before the next operation. If the sample differs from the approved construction, resolve the discrepancy rather than expecting the sealing process to compensate for it.
Retain a clearly identified assembly for comparison. Photographs can document placement and visible defects, but they should be linked to the actual sample and setup. They do not replace the required structural or water-resistance evaluation.
Alternative Construction Methods: Lap Seams and Adhesive Bonding for Waterproof Garments
If the team proposes another seam geometry, compare it with the intended product requirements before changing the pattern. Record the layer arrangement, piping position, joining surface and access for the selected process. A different overlap can change the assembly being assessed, so retain a drawing for each candidate.
For an adhesive proposal, obtain guidance applicable to the actual materials and finishes. Confirm preparation, application, handling and any required conditioning before evaluation. Do not prescribe an additional adhesive layer as a general repair for piping or assume a named polymer establishes compatibility.
Review the resulting sample for the same relevant requirements used for the stitched proposal. Include finished appearance and movement where required, as well as the specified performance tests. Document the accepted construction and process together. A change in joining method should produce a reviewed specification, not merely a different instruction on the production floor.
Step 4: Sealing the Seam for Waterproof Performance
Choose the sealing approach using the applicable material and equipment guidance. Identify the surfaces to be sealed, the required coverage and any limitations at curves, ends or intersections. Obtain confirmation of an uncertain combination before setting production conditions.
Where tape is specified, check its placement and contact on the representative assembly. Record visible bridging, wrinkles, lifting or incomplete coverage for investigation. These observations identify questions for the process review; visual inspection alone does not establish whether the finished seam meets its water-resistance requirement.
Use the process settings supported for the selected system and record the actual equipment setup. Temperature, pressure, feed or dwell conditions must be established for that combination rather than copied from a general article. Follow the applicable equipment guidance when making adjustments.
If liquid sealant is proposed for a detail, verify that the product and application method are appropriate. Do not automatically treat every piping end or tape defect with another chemical product. Confirm preparation, coverage and handling requirements, and evaluate the completed detail after the specified conditioning. Retain the process record with the sample so a successful result can be linked to the method used.
Step 5: Testing and Quality Control
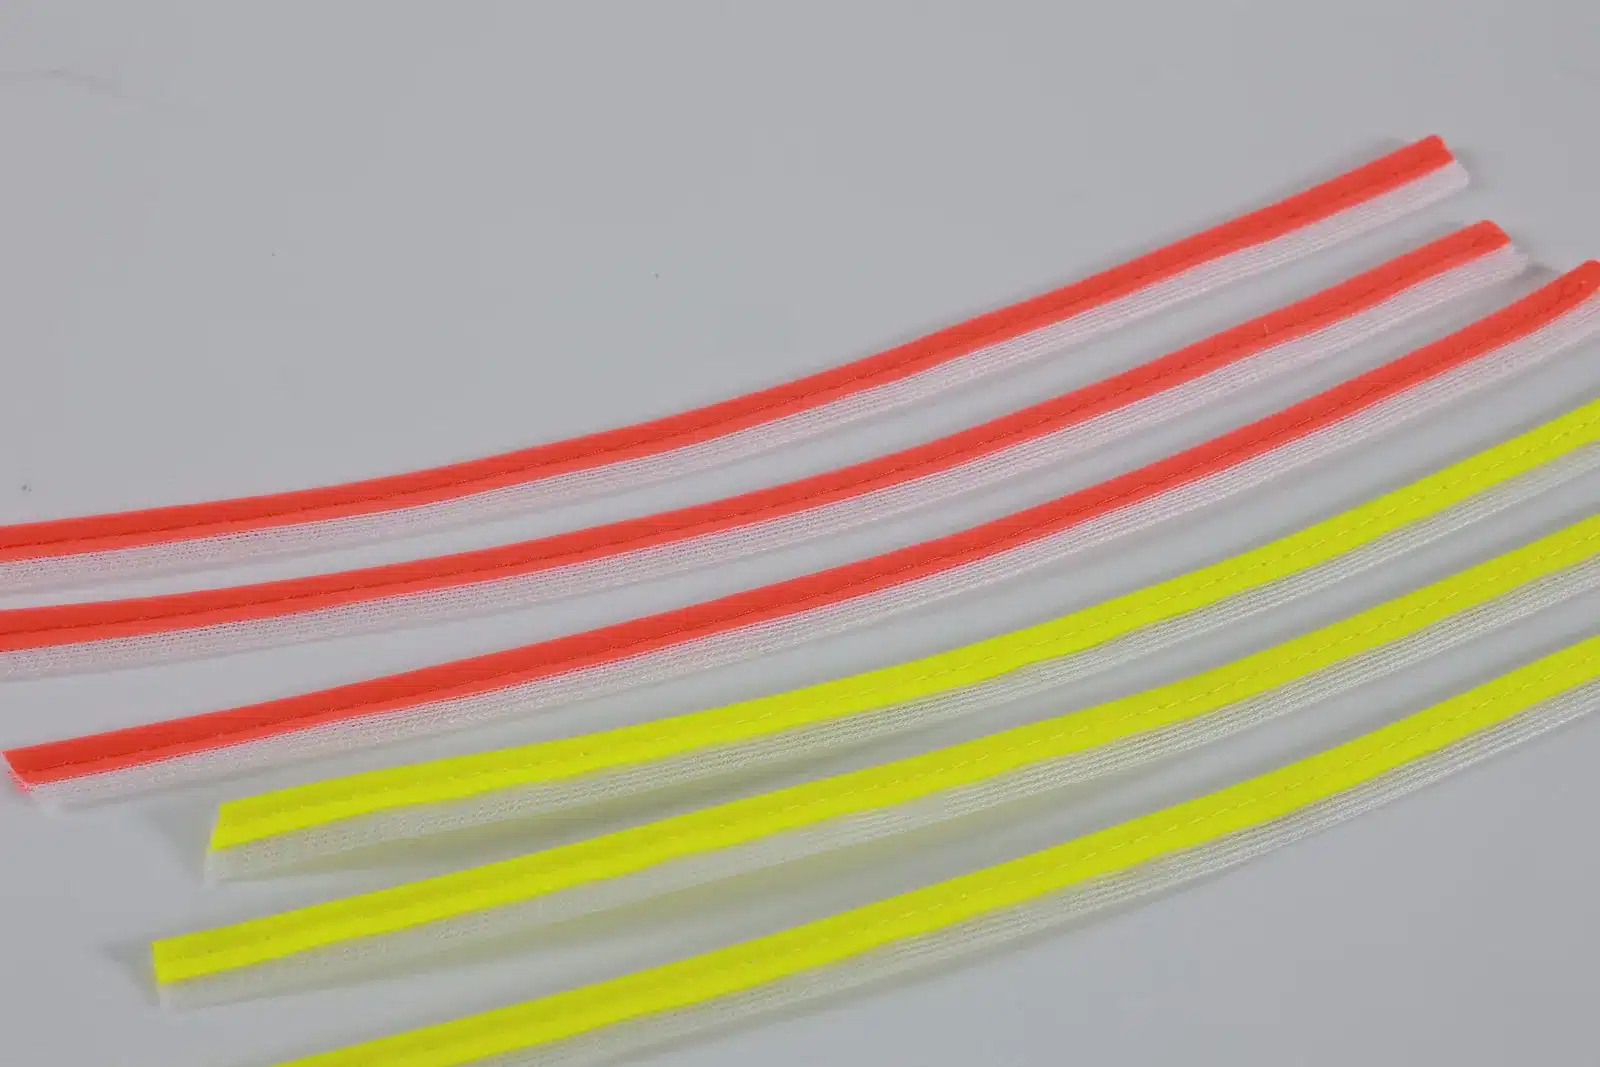
Agree the test plan before evaluating samples. Identify the requirement, sample construction, preparation, method and acceptance criteria, together with the person responsible for interpreting the result. Ask the laboratory or responsible specialist whether the proposed method is appropriate for the seam geometry and finished-product claim.
Start with documented visual checks of placement, stitch condition and sealing coverage. Record defects and sample identification without assigning an unsupported root cause. Keep any photographs linked to the sample and process record.
For water-resistance assessment, use the agreed method and conditions. Record where and when leakage or another nonconformity is observed, including any limitations in the setup. A result from a simple seam coupon should not automatically be presented as a result for the complete garment.
Where the specification requires evaluation after care, movement or another exposure, document that process and the subsequent checks. Do not invent a universal wash count, test pressure or service-life claim. Keep the original and post-treatment results linked so the team can see exactly what was assessed.
If a result fails the agreed criterion, hold the affected development decision and investigate the material, geometry and process records. Reassess the revised assembly before releasing a changed method.
Prepare the sample description for the testing team in advance. Include the seam drawing, the intended test region and any junction or termination that must be represented. Ask how the specimen will be positioned and which part of the assembly the result can describe. This avoids receiving a report whose scope differs from the purchasing question.
Record deviations from the planned assessment. If a sample was made with different materials, treated under another process or evaluated before the specified conditioning was complete, make that difference visible. Ask the responsible reviewer whether the result can be used or whether another sample is required.
When comparing an original and revised seam, use identified samples and document the changed variable. Keep the test conditions sufficiently described for the reviewer to understand the comparison. Do not attribute an improved result to a single material change when the process or sample geometry also changed.
Separate an investigation observation from the release decision. A team may identify a promising adjustment before it has completed the required verification. Record the remaining work and responsible owner, and retain the hold until the agreed evidence has been reviewed. This keeps development progress visible without presenting an unverified repair as an approved production method.
Production QC Checklist for Reflective Piping
Turn the accepted development record into a style-specific control document. Identify the shell, piping, sealing material, drawing revision and process record. State which checks are required, who performs them and what constitutes an acceptable result.
| Control point | Record for the selected assembly |
|---|---|
| Material identity | Product and lot identification linked to the order |
| Seam geometry | Approved drawing, placement and measurement method |
| Sewing setup | Equipment, tooling, thread and accepted settings |
| Sealing setup | Applicable material guidance and process record |
| Inspection | Observations against the agreed criteria |
| Performance evidence | Test method, sample identity, conditions and result |
| Release | Responsible reviewer and unresolved items |
Agree the inspection frequency and sampling approach with the responsible quality team. Do not assume that a general checklist establishes certification or that a single retained sample covers every later material change. Record departures from the approved setup and decide which checks must be repeated before production continues.
Common Mistakes and How to Avoid Them
A common review gap is approving the piping and shell independently without examining the assembled detail. Include the actual combination in the development plan and record the limitations of the available evidence.
Another gap is treating a visual defect as a confirmed diagnosis. If tape lifts or the seam leaks, document the location, sample and process conditions. Investigate compatibility, coverage, geometry and preparation as appropriate; do not declare a universal cause from the appearance alone.
Avoid unreviewed changes during repair. Removing stitches, trimming a core, adding adhesive or applying another tape can change the assembly. Obtain an applicable corrective procedure and confirm the required reassessment before release. Keep rejected and revised samples clearly identified so the production team uses the correct reference.
Record Rework and Schedule Implications
Use actual order observations when assessing the commercial impact of a seam problem. Record the affected quantity, the operations needing correction and the material or testing required for the proposed remedy. Avoid quoting a universal rework percentage or assuming that every defect can be repaired.
Ask the responsible teams to confirm the revised development and production milestones. A new material combination or process may require another sample and assessment; the duration should come from the parties doing the work. Keep the delivery decision linked to the accepted construction and outstanding evidence.
Compare alternatives on equivalent requirements and scope. A faster operation or lower quoted trim price is useful only in the context of the accepted finished-product requirements. Document the basis of the decision rather than claiming guaranteed throughput or savings from a general sewing technique.
Best Practices for Professional Results
Keep the final specification, accepted sample and evidence consistent. Identify the piping model and construction, shell, joining detail, sealing system and approved process revision. Make the relevant records available to the people receiving materials and carrying out production checks.
Review changes before applying earlier results to a new combination. A different finish, color, profile, shell or process may change the scope of the earlier assessment. Record what changed and ask the responsible specialist which evidence remains applicable.
Close the development review with an explicit decision. List the requirements demonstrated, conditions attached to acceptance and any information still needed before bulk release. A suitable-looking seam is a review input; the release decision should rest on the evidence required for the actual garment.
Frequently Asked Questions
Does reflective piping make a seam waterproof?
No component description establishes the performance of the finished seam. Evaluate the actual shell, piping, joining detail and sealing system against the specified requirements. Keep the result linked to the sample and process used.
Which needle size and stitch density should I use?
Establish the setup with the production team using equipment-compatible guidance and representative materials. Assess the seam against its structural, appearance and water-resistance requirements. This guide does not prescribe a universal setting.
Can a failed sealed seam be repaired?
A repair may be possible where the responsible material and product guidance supports a procedure. Assess damage and compatibility before changing the assembly, then verify the repaired result against the applicable criteria before release.
Is a waterproof shell report enough to approve the piping seam?
No. Confirm what the report tested and whether it covers the proposed assembly. Obtain the required seam or finished-product evidence rather than transferring a shell result to an untested construction.
What should be reviewed when piping or sealing materials change?
Record the changed model, construction, finish or process and determine which earlier results remain applicable. Update the sample, drawing and supporting evidence as required, then obtain the responsible review before bulk release.

Related blogs

Sewn type VS High-frequency hot-pressing type reflective piping

Common Reflective Piping Problems and How to Avoid Them

Healing the "Hidden Wounds": Scaling Quality in Reflective Piping Production

Regular silver reflective edging piping MP0101
Related products

High luster’s elastic reflective piping MP0104
Reflective Piping for Clothing

Reflective piping FAQ


