

An unsuitable presser foot can mark piping or produce uneven seams. Check the finished garment against its applicable specification; foot selection alone does not establish compliance.
To sew reflective piping, select a machine-compatible foot that clears the assembled piping profile, secure the flange inside the seam allowance, and stitch beside the cord without scraping the reflective face. Test the complete fabric stack before production. This guide covers foot selection, setup, sewing and sample checks.
Understanding Reflective Piping in High-Visibility Garments
What Is Reflective Piping?
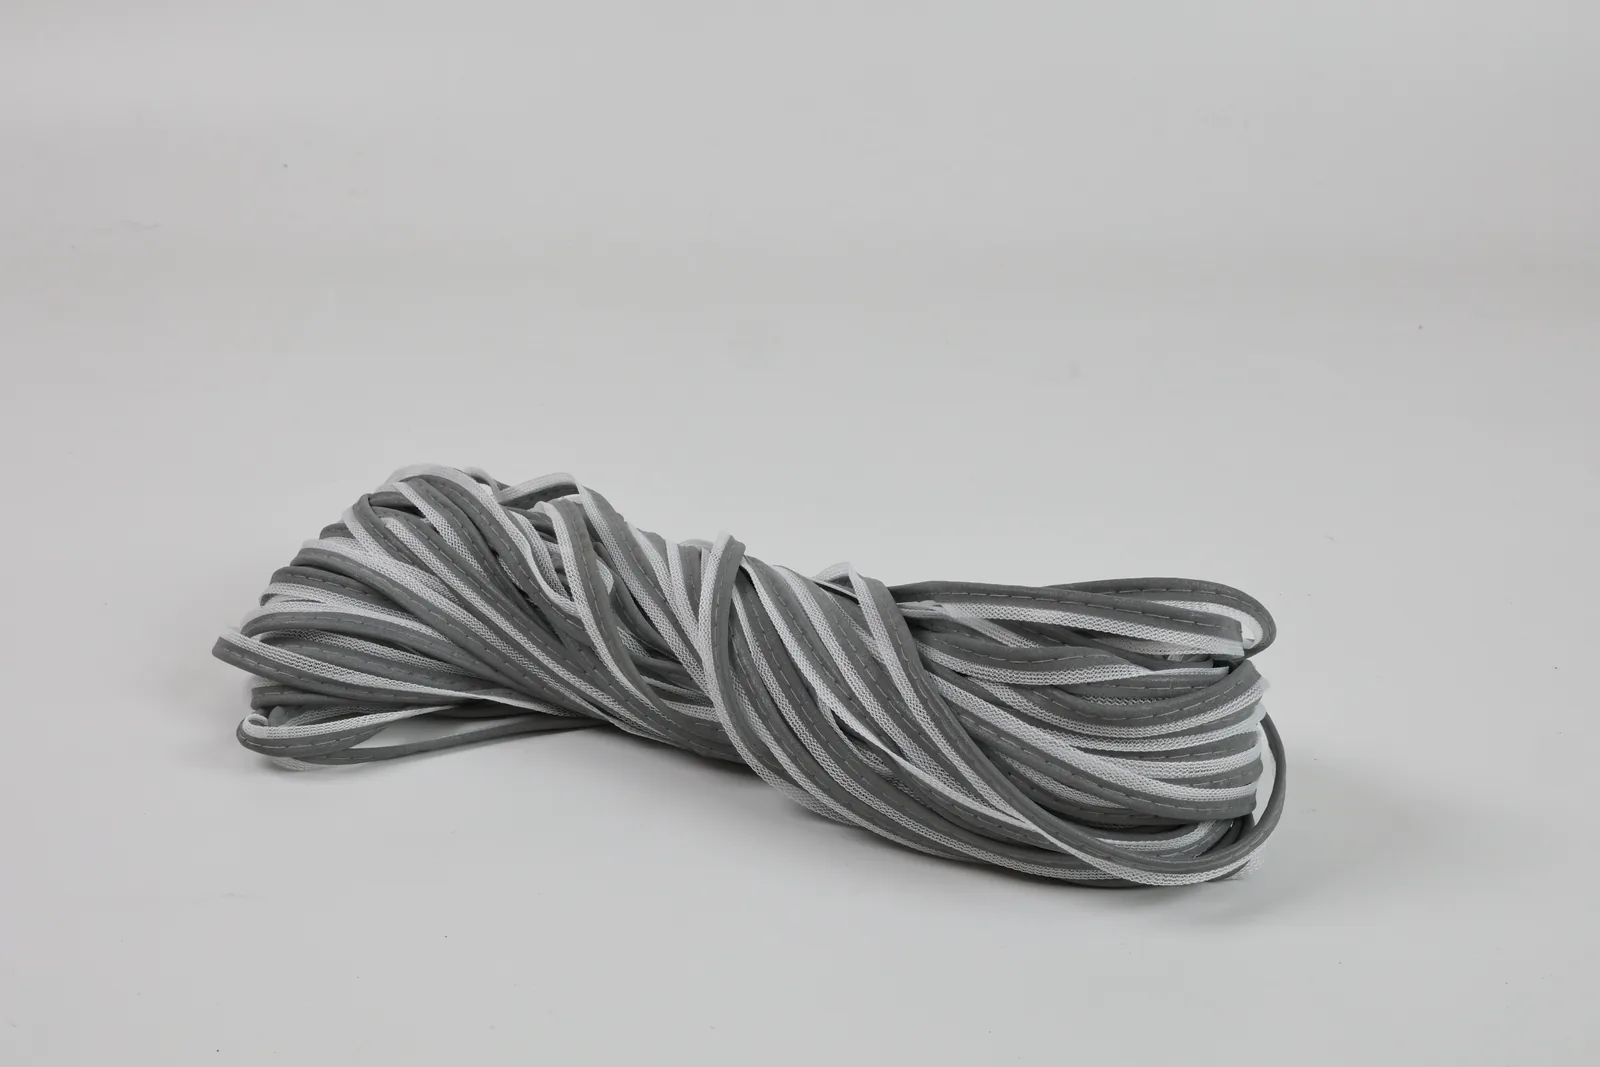
Reflective piping is a narrow trim used along seams, edges, pockets, sleeves, and panel joins to add retro-reflective visibility to high-visibility garments. It combines a reflective surface with a fabric carrier, often wrapped around a cord or folded into a seam allowance.
Standard piping mainly adds shape and decoration. Reflective piping must add visibility while preserving its retro-reflective performance. This makes the material less forgiving under pressure, bending, abrasion, and repeated feeding through an industrial sewing machine.
Cord material and construction affect handling. Compare candidate assemblies on the actual seam stack instead of assuming that a named fiber guarantees dimensional stability.
When specifying reflective piping in a Tech Pack, it is critical to distinguish between a "reflective stripe attachment" and the construction method used to achieve it. A reflective stripe is a visual design term—not a raw material—and can be constructed via reflective roll tape, inserted piping, or reflective screen-print ink. Ambiguous Tech Pack wording can lead to sourcing or construction misunderstandings. Specify the material, attachment method and acceptance requirements, then confirm them against the sample.
- Corded reflective piping for side seams, shoulder seams, and sleeve joins
- Flat reflective piping for pocket edges, flap edges, and lightweight garments
- Single-lip piping for insertion into one seam line
- Double-lip or center reflective piping for symmetrical panel applications
- Woven or knitted carrier piping for workwear, rainwear, and outdoor apparel
Buyers should confirm five details before sampling: visible reflective width, total tape width, cord material, carrier fabric, and wash requirement. These specifications control sewing behavior as much as the garment pattern does.
For selection inquiries, the supplier’s product page lists MP0104 in polyester & spandex, with customizable width of 15–30 mm. The supplier’s product pages list MP0108 as reflective piping with green printed stripes and MP0110 as segmented reflective piping with black printed stripes. The supplier’s website lists custom colors and Logo/pattern printing at category level. Ask the supplier to confirm the available options and MOQ for the selected model and order. Do not assume that every category option applies to each model.
Compliance and Safety Standards
ANSI/ISEA 107 and EN ISO 20471 are relevant standards to check when specifying high-visibility apparel. Buyers should request the supplier's documentation covering the specific model, color and construction, and align it with the garment's intended use before production. Confirm the applicable edition and intended garment use with the responsible compliance specialist. Reflective piping alone does not establish finished-garment compliance.
If reflective piping counts toward high-visibility workwear performance, the material must retain integrity after sewing, laundering, flexing, and normal wear. Uneven stitching or excessive compression that damages the reflective face can undermine compliance before the garment leaves the supplier.
Check both material documentation and finished-garment requirements. A trim specification cannot substitute for assessment of the complete garment.
Reflective Piping Materials and Construction
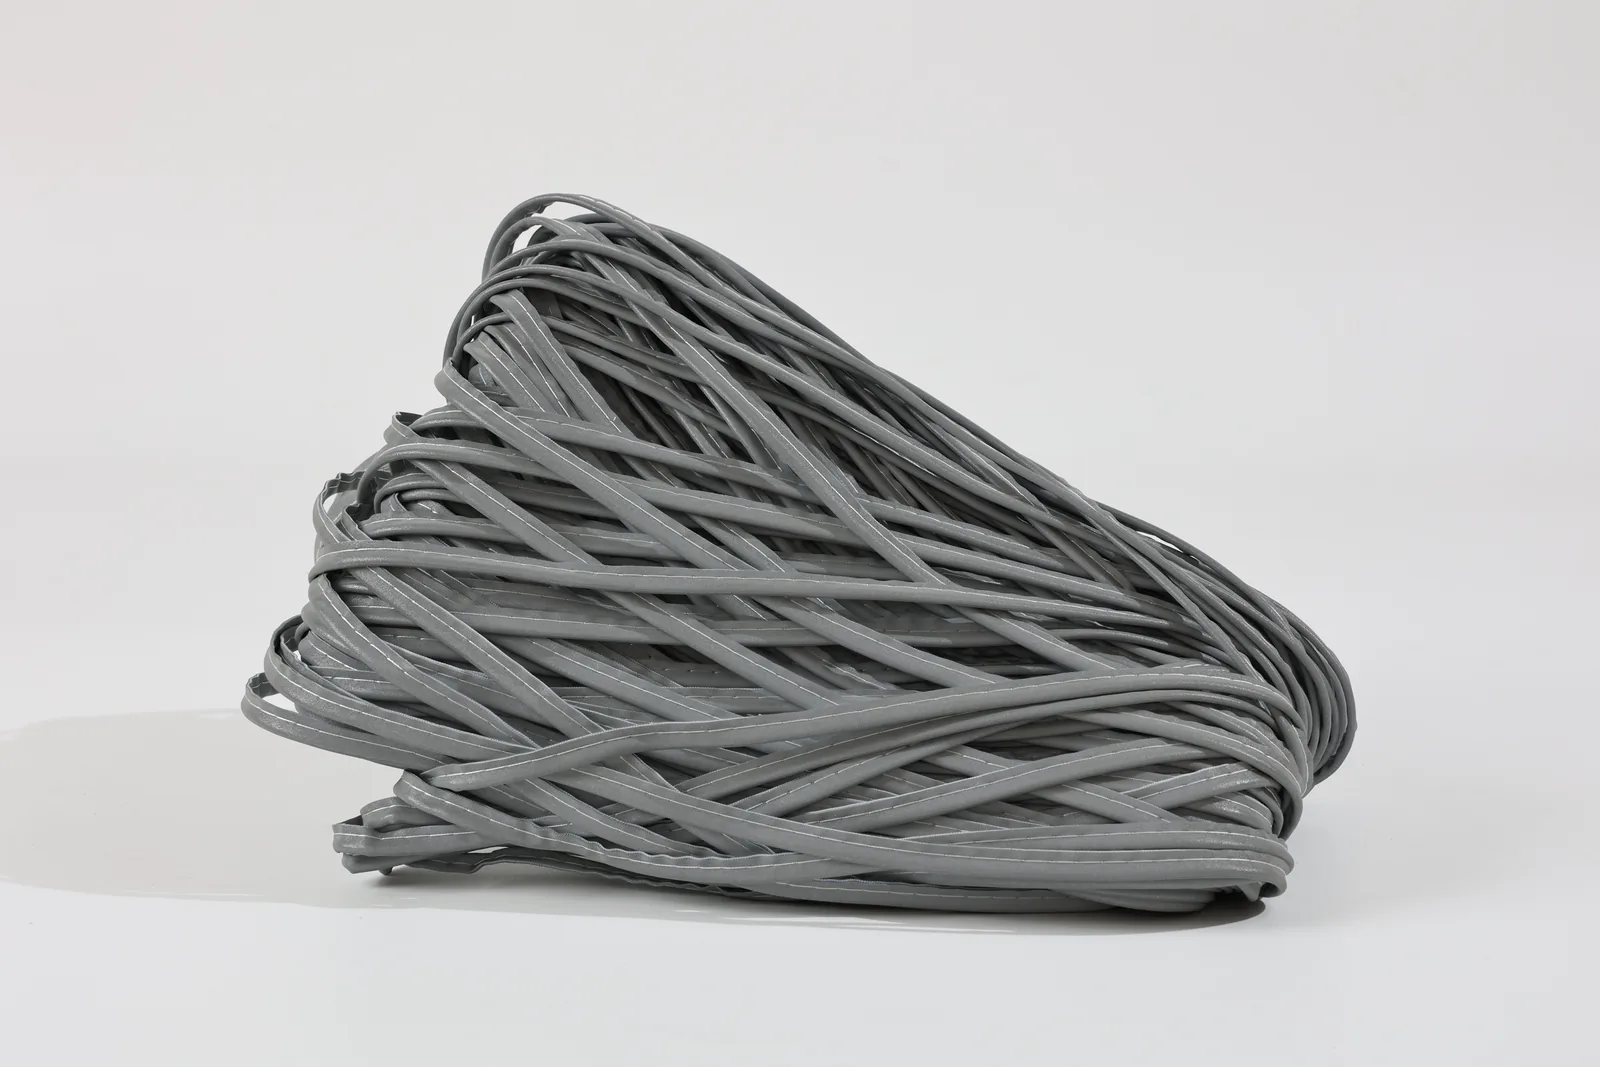
Corded piping generally combines a cord, carrier and reflective face; flat piping has a different profile. Request the actual construction and material specification before selecting tooling. Compare flexibility and seam behavior on samples.
Confirm the reflective surface technology and approved handling instructions for the chosen material. Do not infer optical performance, drape or foot compatibility from a technology name alone. Trial the assembled seam and inspect it for marks or distortion.
If a buyer specifies recycled content or certified materials, request documentation for the exact product and scope. Evaluate any material substitution on the production seam stack before release.
Key Challenges When Sewing Reflective Piping
Material-Specific Difficulties
Reflective piping slippage is one of the most common challenges when sewing high-visibility garments, and it starts before the seam looks wrong. Reflective piping often feeds against smooth high-visibility fabric, and even small movement can shift the visible line off position. On bulk production lines, this usually appears as waviness, uneven exposure, or a seam allowance drifting from the guide.
Control the start of each seam carefully. Avoid pulling the tape behind the needle; let the feed system move the layers and check alignment before continuing.
A hard standard foot can mark the reflective face, so pressure control becomes a quality issue. Too much downward force may hold the material firmly, but it can also flatten the piping profile. Too little pressure allows the tape to skate forward or sideways during acceleration.
A firm cord resists bending through curves and corners, causing the stitch line to creep toward the raised edge if the operator forces the seam flat.
When a sample shows waviness or twisting, check layer alignment and feeding as well as speed. Record the settings that produce an acceptable trial seam.
Machine and Thread Considerations
When seam thickness changes across a reflective piping seam, overly tight tension will pucker the shell fabric or bite into the piping edge.
Needle choice has a direct effect on seam appearance. A dull needle pushes the material instead of piercing cleanly. An oversized needle may enlarge holes on coated or high-visibility fabrics, especially near the piping lip.
Use a needle suitable for the base fabric first, then verify performance on the full seam stack across straight seams and curves. Lightweight polyester, softshell, Oxford cloth, and laminated safety fabrics do not react the same way.
Feed dog engagement must stay consistent across the full seam. If the lower layer advances faster than the piping, the reflective line will twist. If the piping advances faster, the shell fabric may gather beside the seam.
Stitch length should support feeding stability. Very short stitches can perforate the carrier edge and slow material release under the foot. Very long stitches may fail to hold the piping securely through curves and stress points.
Choosing the Right Industrial Presser Foot
Compare Candidate Feet Before Sampling
| Candidate | Confirm before fitting | Check on the trial seam |
|---|---|---|
| Grooved piping foot | Machine compatibility, groove clearance and needle path | Cord tracking, even exposure and surface marking |
| Adjustable zipper foot | Exact machine compatibility and clearance beside the piping | Stitch position and material control; a household accessory example does not establish industrial compatibility |
| Low-friction or roller foot | Equipment and material supplier guidance for the selected stack | Feeding, surface contact and seam alignment |
Industrial Grooved Piping Foot Selection
Piping Foot (Cording Foot)
A piping foot is the recommended industrial presser foot for sewing reflective piping — it uses a grooved underside to cradle the corded edge during stitching. The groove keeps the raised piping profile in a fixed path, while the needle sews close to the cord without riding over it.
Choose a groove that clears the assembled piping without squeezing the reflective face. Check for sideways drift or an excessively open seam in a trial run; the inner cord diameter alone is not enough to select the foot.
Use a piping foot for pre-made reflective piping on safety vests, workwear shoulder panels, rainwear seams, and uniform edges where the cord must remain even.
Wider or stiffer reflective tape can limit the usefulness of a standard piping foot. The groove controls the cord, but it does not manage a broad laminated wing. If the reflective tape has a rigid coating or thick backing, test whether the foot sole clears the tape edge cleanly before approving it for production.
Select the groove position according to the seam layout and compatible needle position. Confirm the choice in the machine accessory documentation.
Machine Types and Custom Feeding Attachments for Reflective Piping Production
Presser foot selection is one part of a sewing setup. Choose the machine and feed arrangement around seam access, fabric stack, thread and required stitch formation.
Machine Type Selection by Garment Location
Compare flatbed, cylinder-bed or post-bed access against the actual garment operation. Choose the stitch type specified for that seam. A single-needle machine does not sew two parallel rows in one pass; verify the required needle configuration with the equipment supplier. Do not treat one equipment list as mandatory for all reflective piping.
Custom Feeding Attachments as Production Enablers
Tape guides and compatible feeding attachments may help position material. Trial each attachment with the selected piping and seam geometry, checking that it does not scrape the reflective face or restrict feeding.
Record the accepted tooling, sample results and operator instructions before production. Verify repeatability instead of assuming an attachment eliminates drift or scrap.
Preparing Your Industrial Sewing Machine and Materials
Needle Selection for Coated and Reflective Fabrics in High-Visibility Garment Production
Select a needle system and point compatible with the machine, thread and full material stack. Use the machine and material suppliers’ guidance, then verify stitch formation on samples.
Inspect the reflective face around the stitch line for marking or damage. Replace a damaged needle and investigate the setup if skipped stitches or surface defects appear.
Choose needle size from the machine and thread guidance, then test the full seam stack. Do not assign a universal needle size to reflective piping or a fabric trade name.
Thread Choices for Safety Apparel
Choose thread to meet the garment seam and care specification. Check its compatibility with the machine, needle and material before sampling.
Ask the thread supplier for information relevant to the intended exposure and care process. Verify the complete sewn assembly; a fiber name alone is not evidence of wash durability or compliance.
Choose thread size after confirming needle and machine compatibility. Assess seam strength, appearance and bulk against the garment specification on a trial assembly.
Set top and bobbin tension for the added thickness of the piping assembly. The lock should sit inside the seam stack, not on the reflective face or the underside. Reduce top tension slightly if the thread cuts into the coating.
Basting and Material Handling
Secure reflective piping before the final structural stitch. Small movement at this stage can shift the highlight line and create uneven visibility on finished garments.
Use temporary methods placed inside the seam allowance:
- Narrow double-sided sewing tape for straight runs and controlled curves
- Fabric clips for thicker Cordura or Oxford panels
- Temporary adhesive spray applied lightly away from the reflective face
- Long basting stitches inside the seam allowance
- Heat-safe positioning tape if the reflective material supplier approves it
Avoid standard pinning through the reflective face. Pin holes can scar the coating and remain visible after stitching, especially on silver reflective piping.
Keep the piping relaxed during positioning. Do not stretch it around curves or pull it tight along long seams. Tension during basting often causes waviness after the garment panel returns to its natural shape.
Step-by-Step Guide to Sewing Reflective Piping with the Correct Presser Foot
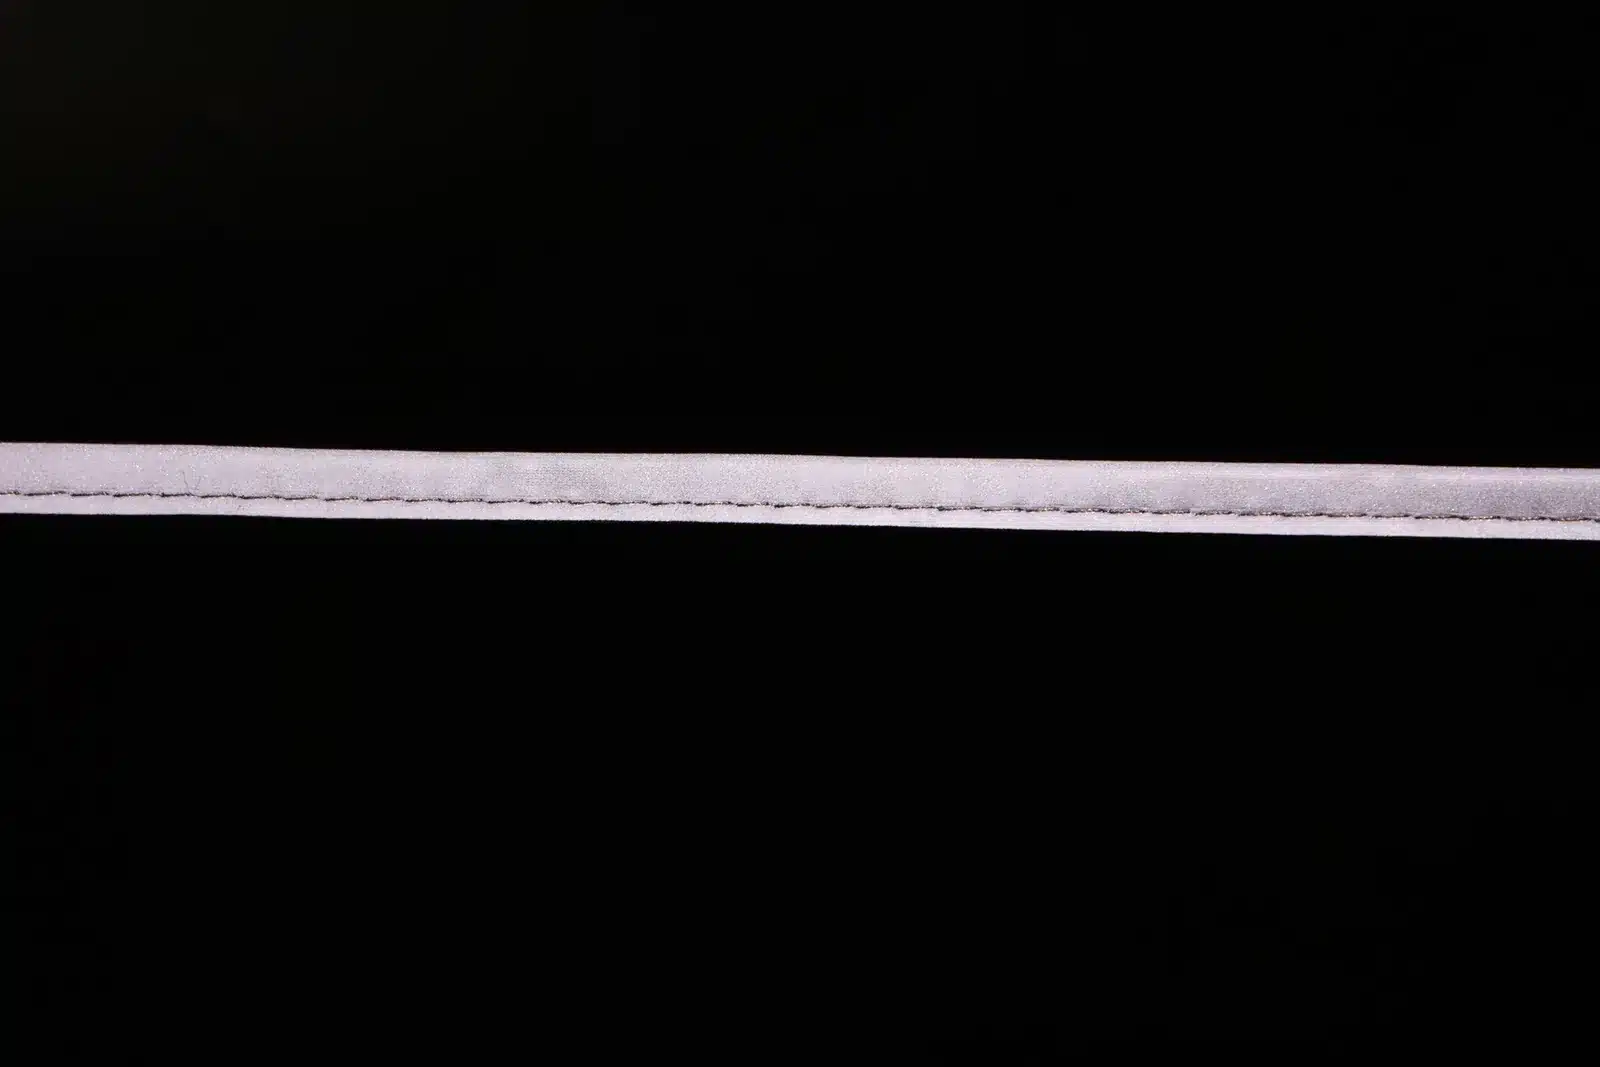
Step 1 – Prepare Your Materials and Machine
Press reflective piping only if the material supplier permits it. Follow the product-specific temperature, pressure and contact-time instructions; trial a scrap first.
If pressing is not documented for the selected material, avoid it until the supplier confirms a suitable method.
Select stitch length using the seam specification and machine guidance. Test the actual fabric and piping stack, then record the accepted setting.
Before changing the foot or needle, isolate machine power as directed by the equipment manual. Fit the compatible foot securely and check needle clearance using the manual’s prescribed procedure. Keep hands clear of moving parts when trial sewing, and confirm that the sample stack feeds without side pressure.
Adjust presser foot pressure in small increments. Use enough pressure to control the stack, but avoid flattening the piping or marking the reflective surface.
Step 2 – Position and Secure the Reflective Piping
Baste long runs or curved panels with temporary stitches kept inside the seam allowance so they disappear after final assembly.
Place the piping flange flush with the raw edge of the hi-vis base fabric. This alignment controls the finished reveal and prevents uneven reflective exposure after turning.
Seat the cord in the foot groove, then guide the flange edge with your left hand. Do not push the cord inward, or the seam width will drift.
For curves, reduce handling speed and shape the fabric before it reaches the needle. Clip only the flange on tight curves, and never cut into the visible reflective face.
For corners, stop with the needle down before pivoting. Smooth the piping by hand, then restart slowly to avoid twisting at the turn.
Step 3 – Sew the Piping Seam
Run the foot along the cord and keep the seam allowance consistent. In production, this gives operators a repeatable guide without adding layout marks to every panel.
Guide the material with steady tension from the front and side. Avoid pulling from behind the needle, since this can stretch synthetic panels and distort the reflective line.
Control the feed rate through bulk changes. Slow down before seams, pockets, binding overlaps, or reinforced zones, then return to normal speed after the stack levels out.
Start seams with the piping fully under the foot. Backtack only within the seam allowance, or use a short lock stitch if the specification limits visible reinforcement.
Sew close to the cord without stitching through or scraping the reflective face, using a compatible foot and needle position. Avoid pulling the material through the feed system. Even exposure and a sound seam do not by themselves demonstrate resistance to delamination or laundering; assess the finished sample under the specified care conditions.
End seams cleanly by trimming excess piping after stitching. Leave enough allowance for the next operation, especially at side seams or shoulder joins.
Step 4 – Sandwich and Sew the Final Structural Seam
Place the facing, lining, or second hi-vis panel over the attached piping with right sides together. Align all raw edges before lowering the presser foot.
Check the piping position by touch before sewing. The cord should sit evenly between layers, with no rolled flange or trapped fold.
Move the needle position slightly closer to the cord than the first attachment line. This hides the first stitch line and creates a sharper finished edge.
Support the fabric stack with light guidance and keep fingers clear of the needle. Check whether the layers creep relative to one another. Do not stretch the fabric to hide misalignment; stop and adjust the setup if the sample does not feed evenly.
Sew a short production-matched sample and check whether the top and bottom panels remain even at the end of the seam. If the lower layer advances too quickly, reduce speed, adjust pressure, or review feed dog timing before bulk sewing.
Step 5 – Topstitch and Finish
Turn the seam and check the reflective reveal before topstitching. The piping should sit evenly along the edge, with no crushed cord, trapped flange, or exposed first stitch line.
Topstitch only if the garment specification requires it. Keep the stitch line parallel to the piping and use a foot that clears the raised cord without rubbing the reflective face.
Trim threads close to the seam, but do not nick the reflective surface. Inspect the finished edge under direct light and low-angle light to catch scratches, pressure marks, or uneven reveal before packing or moving to the next operation.
Troubleshooting and Maintenance
Preventing Puckered Seams When Sewing Reflective Piping
Set presser foot pressure for the real seam stack, not for flat fabric. Hi-vis jackets, vests, and workwear panels often combine shell fabric, reflective piping, binding, lining, and reinforcement patches. A setting suitable for two layers can compress the raised cord and create puckers after sewing.
Start with the lowest pressure able to feed the full assembly without slipping, sew a production-matched sample, and check both sides. If the seam puckers along the fabric edge, reduce pressure in small increments; if layers creep apart, increase pressure slightly or switch to a foot with better controlled contact.
- Sew a representative sample without pulling the fabric.
- Compare the start and end alignment marks on the top and bottom layers.
- Check whether puckering appears only after crossing bulky sections.
- Record the pressure setting for bulk production once the sample passes inspection.
Feed dog timing can also create puckering when the bottom layer moves before the top layer. Mark both layers with a straight cross-line, then sew through the marked area. If the marks separate after stitching, the feed system needs attention rather than more operator force.
Ask the mechanic to verify feed dog height, motion timing, and needle plate clearance.
Fixing Scratched or Damaged Reflective Tape Caused by Incorrect Presser Foot Contact
If scratches appear, inspect material handling and machine contact points before continuing. Compare an unsewn sample with the sewn material to help locate when the damage occurs.
Inspect the presser foot first. Run a cotton swab through the groove and along the toe. If fibers catch, a burr or sharp edge is present. Check the needle next, since a dull or bent needle can score the reflective face near the stitch line.
Feed a scrap of reflective piping under the foot with no thread and no needle contact. If scratching appears, the foot or needle plate is the source; if the surface stays clean, reinstall the needle and test again.
Stop if abrasion appears. Trial a compatible low-friction or roller foot if recommended for the material and machine. Do not apply lubricants unless the material supplier approves their use and downstream compatibility.
For repeat orders, keep identified, inspected feet for reflective materials. Check them before use and remove damaged feet from service.
Correcting Wavy or Uneven Piping
Match the groove to the assembled piping profile with suitable clearance. Check for lateral drift and compression in a trial seam instead of requiring an exact match to the bare cord diameter.
Guide the fabric assembly from the front and side, not from behind the needle. Bias-cut reflective tape can stretch during feeding, especially when the operator pulls to correct alignment. Once stretched, it often relaxes into a wavy seam after the panel is released.
Keep the piping flange flat and let the feed system move the stack. Use both hands to support the fabric weight, but apply only light steering pressure. On long seams, pause with the needle down, reset the fabric, and continue instead of pulling the tape back into position.
For curved seams, pre-shape the panel before it reaches the needle. Clip the flange where required, reduce speed, and allow the cord to follow the groove naturally. If the curve is forced under the foot, the reflective face may ripple or twist.
Skipped Stitches and Feed Issues
Skipped stitches in reflective piping seams usually come from needle deflection, excessive seam thickness, or poor feeding under the presser foot. Use a fresh needle suitable for the fabric and check that the needle does not strike the cord or laminated reflective edge.
Presser Foot Care for Longevity
Clean the groove and sole according to the equipment instructions. Inspect for residue or debris before returning the foot to service.
Inspect the toe, groove and side edges under good light. Remove rough or damaged feet from service and have a qualified technician assess repair or replacement.
Store reflective piping feet separately from general-purpose feet. Label them by groove size and approved material type so operators do not use damaged or incorrect feet during bulk production.
Summary
Knowing how to sew reflective piping starts with a compatible foot, a documented seam setup and a production-matched sample. Check seam appearance and material condition, and assess finished-garment requirements separately.
Release the setup only after the sample meets the agreed seam criteria. Record the machine and foot identifiers, piping model and drawing, fabric stack, needle and thread, stitch length, pressure and tension settings, and sample date. Attach photos of straight seams, curves and bulk transitions. Agree the permitted surface marks, reveal variation and seam-strength checks with the buyer, and obtain the required care and performance documentation before production. Keep the approved sample and setup record for repeat orders.
Frequently Asked Questions
Is a cording foot the same as a piping foot, and when should you use one over the other for reflective piping?
Names vary between suppliers. Check the actual groove, clearance and supported operation in the accessory documentation. Trial the foot with the assembled piping; do not decide suitability solely from the label “cording” or “piping.”
What is presser foot G used for, and is it suitable for reflective piping applications?
The letter G is not enough to identify a foot across machine brands. Look up the exact machine and accessory number in its manual. Confirm the stated operation and piping clearance before considering it for this seam.
Why does reflective piping slip during sewing even with the correct presser foot, and what machine settings prevent this?
Check layer alignment, foot clearance, pressure, thread tension and the feed system on the actual seam stack. Adjust one variable at a time and record sample results. There is no supported universal pressure increase or sewing speed for all reflective piping.
Can you use a standard domestic sewing machine presser foot for reflective piping, or is industrial equipment mandatory?
For a household-machine example, an adjustable zipper foot is described as suitable for sewing closely along the edges of a zipper or piping cord. Check the exact machine compatibility and trial your material stack. This does not establish industrial compatibility, production capacity or garment compliance.
What presser foot should you use for cording versus piping when both materials are coated or reflective?
Compare the material profile with the accessory’s documented purpose and machine compatibility. A foot suitable for one corded construction may not suit another. Inspect trial seams for clearance, alignment and surface marking before production.
How often should you replace or inspect the presser foot when running high volumes of reflective piping, and what wear signs indicate replacement?
Inspect at the intervals specified by the equipment supplier and whenever seam quality changes. Check for rough edges, residue, groove damage and drift. Remove damaged feet from use; no universal operating-hour or stitch-count interval is established here.
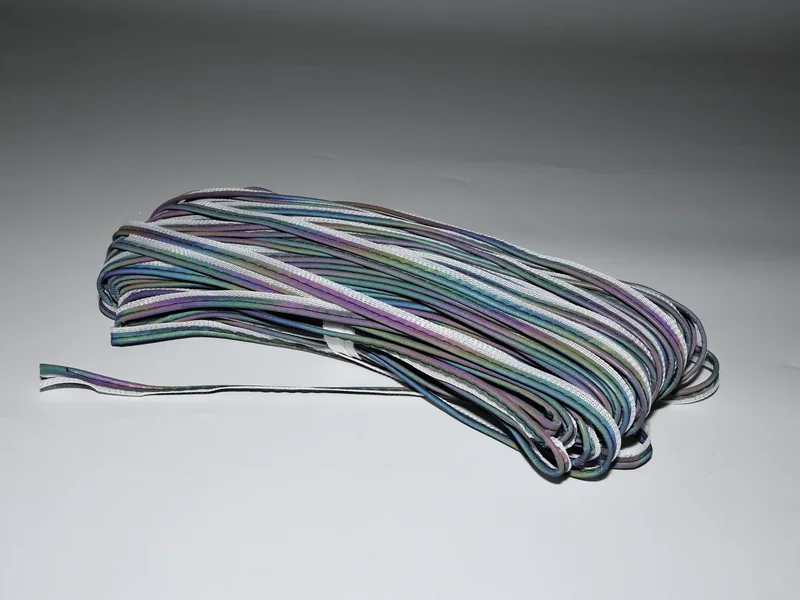
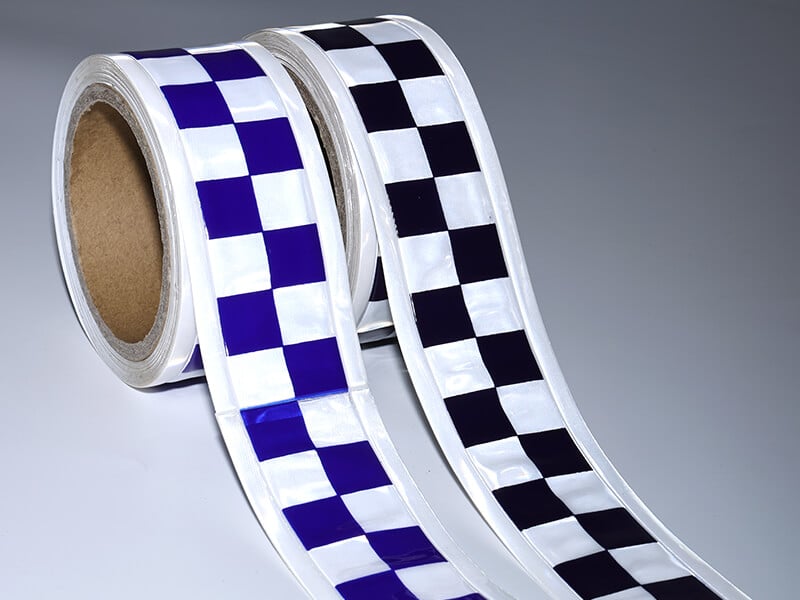

Related blogs

Common Reflective Piping Problems and How to Avoid Them
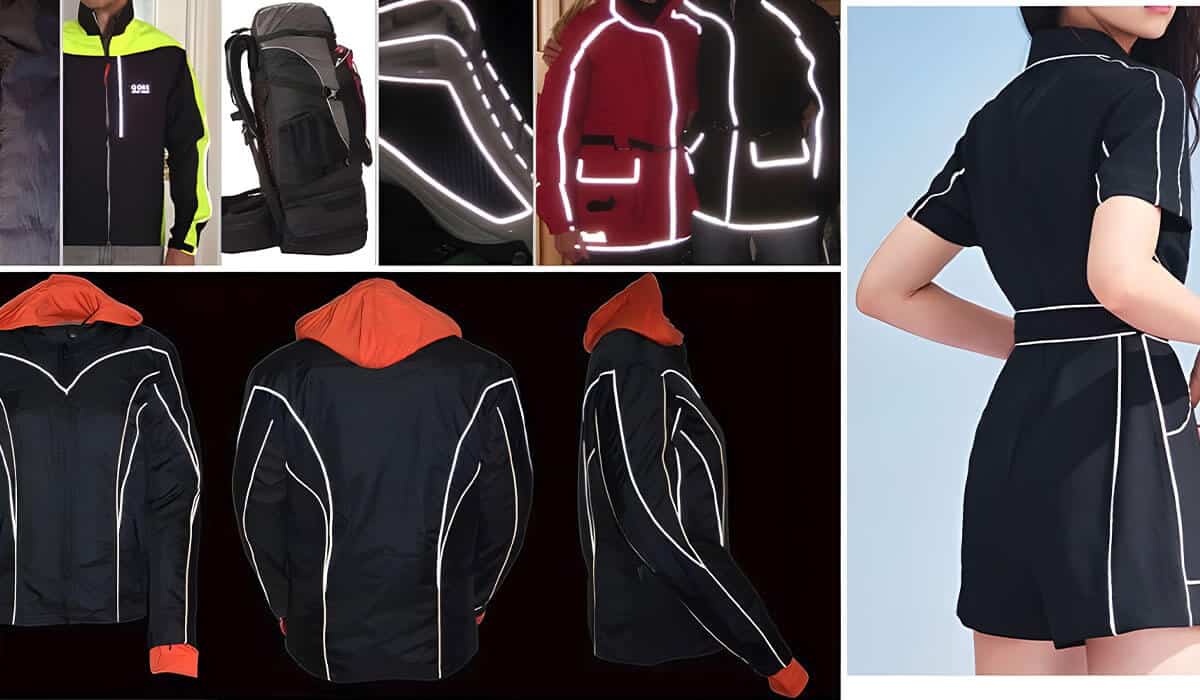
Reflective Piping for Clothing

Healing the "Hidden Wounds": Scaling Quality in Reflective Piping Production

Reflective piping FAQ
Related products

High luster’s elastic reflective piping MP0104
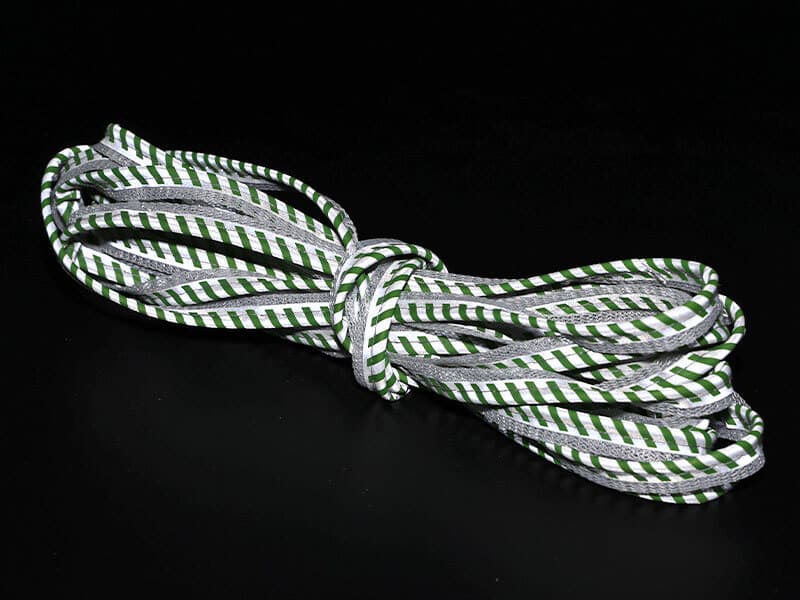
Reflective piping tape with green printed stripes MP0108
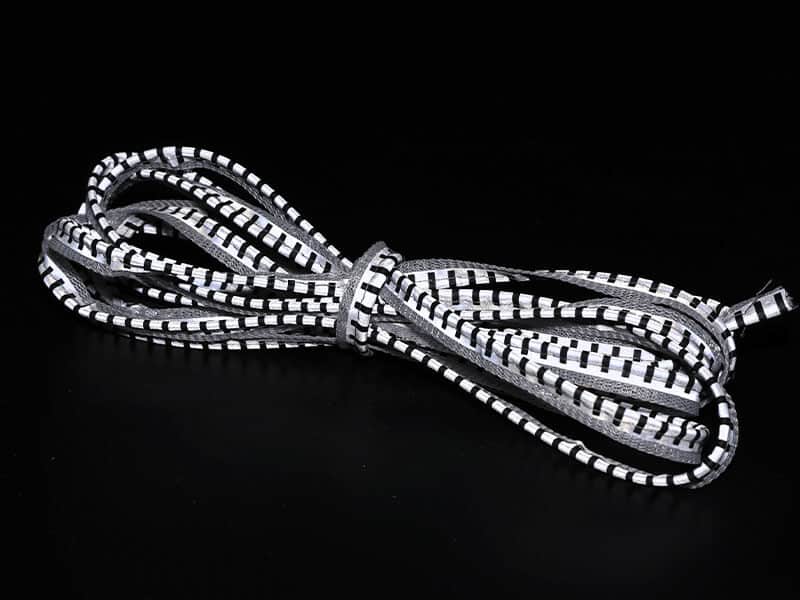
Segmented reflective piping tape with black printed stripes MP0110


