


Related blogs

ANSI Hi-Vis Standard
The ANSI (American National Standards Institute) Hi-Vis Standard provides guidelines for the design and performance of high-visibility apparel, ensuring workers are easily seen in environments with low visibility

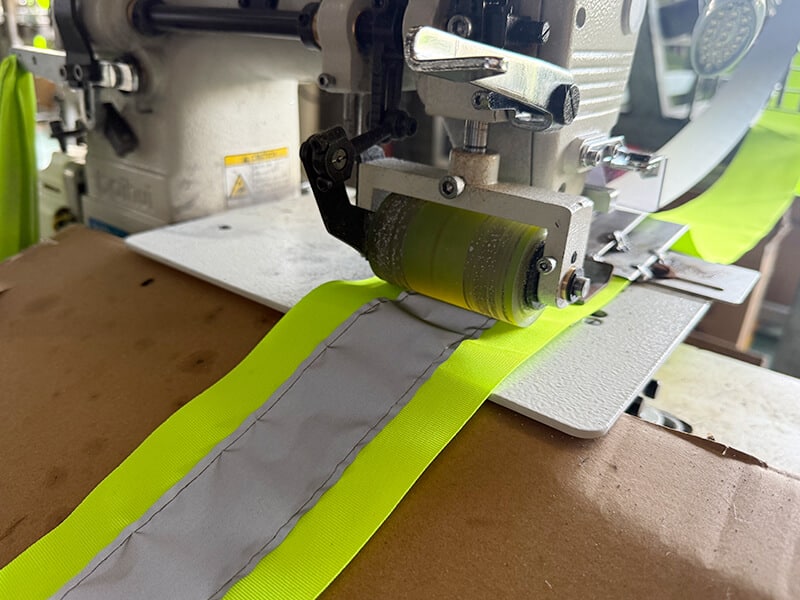
Sewn type VS High-frequency hot-pressing type reflective piping
In this blog, we explore the components, production steps, advantages, and disadvantages of these two types of reflective piping, helping you select the best option for your needs.

The Difference Between Fluorescent and Retroreflective
In this blog, we’ll break down two key players in visibility technology: fluorescent and retroreflective materials.

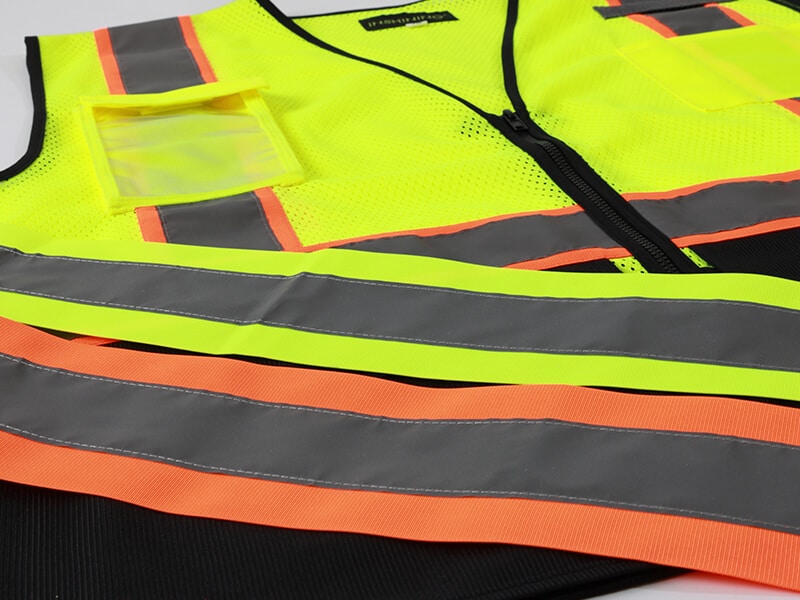
High-Visibility Safety Apparel
This blog dives into the science, standards, and trends behind high-visibility safety apparel (HVSA)—and how our solutions keep your team safe without compromising on style.
Related products

Sewn on 300D Oxford reflective warning tape
Sewn-on 300D Oxford reflective warning tape features a premium combination of silver/grey reflective fabric and durable 300D Oxford cloth to enhance visibility and safety in any environment.

Reflective ribbon tape stitched
Reflective ribbon tape stitched is made of 100% polyester or polyester-cotton blend fabric, which is durable and meets basic safety standards.

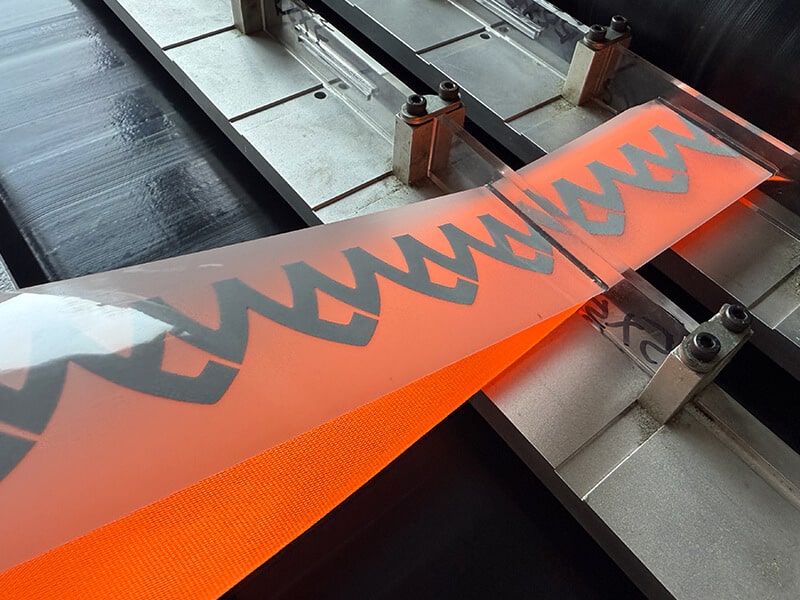
Pattern silver reflective heat transfer webbing warning tape
Combining safety and style, Pattern silver reflective heat transfer webbing warning tape is a premium solution that combines versatility and durability.

Iron-on reflective ribbon warning tape
Iron-on reflective ribbon warning tape comes in bright colors such as fluorescent yellow, orange, red, black and pink, and is available in custom sizes.

High-vis iron-on Oxford reflective fabric tape
Enhance safety with the high-vis iron-on Oxford reflective fabric tape, designed for superior visibility, durability, and versatility.

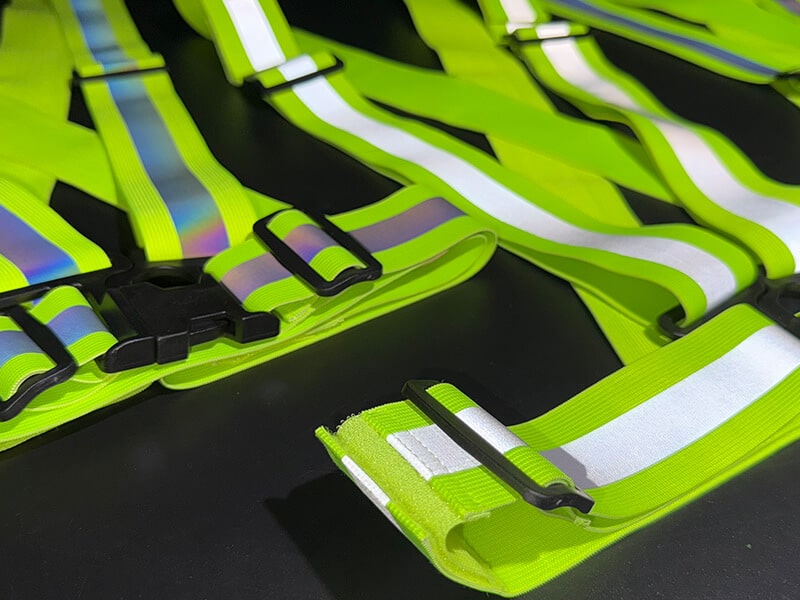
Elastic reflective warning tape
Our elastic reflective warning tape combines premium reflective heat transfer vinyl with elasticated woven tape for a versatile, durable, and comfortable solution.

1005% Knitted fabric reflective warning tape
Elevate safety and style with our 1005% Knitted Fabric Reflective Warning Tape, designed for versatile use in clothing applications.

